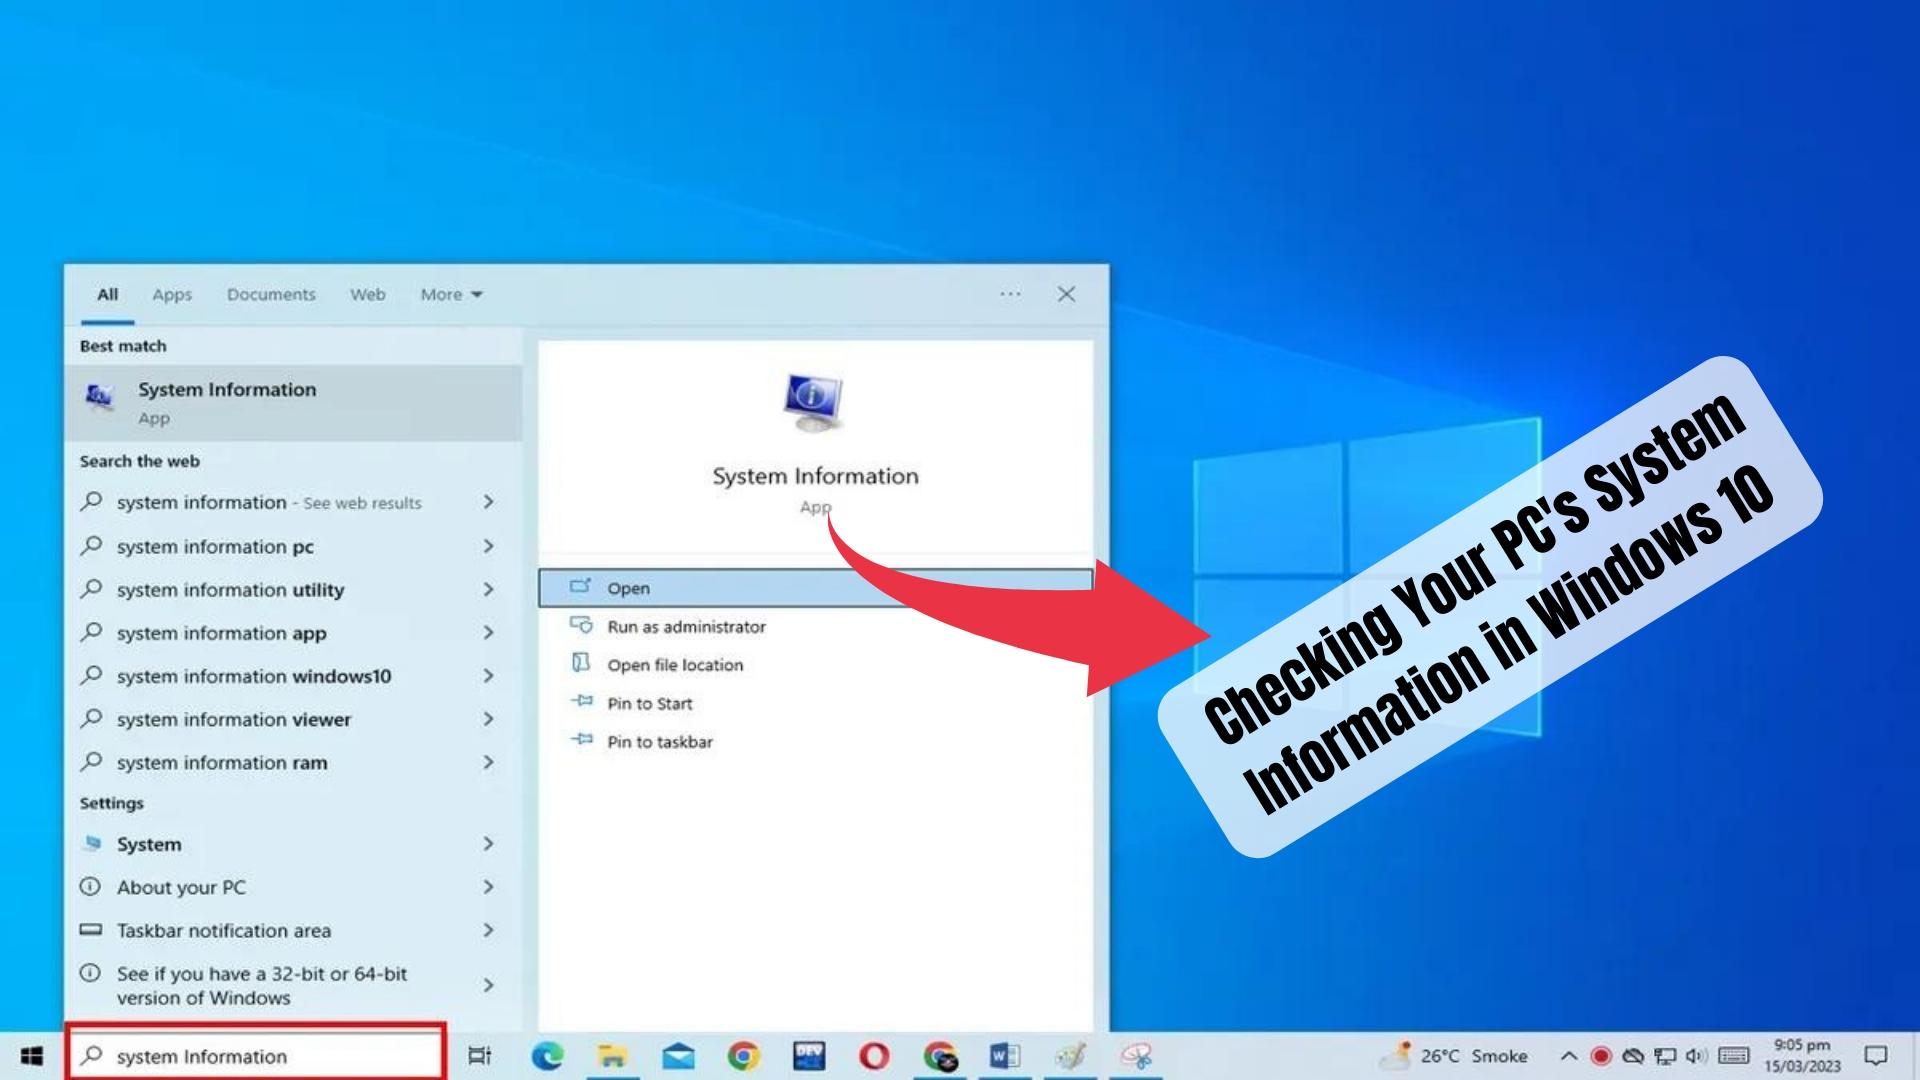
How to Check Your PC’s System Information in Windows 10
Introduction: Knowing your computer’s system information is crucial when it comes to
troubleshooting issues, upgrading hardware, or installing software.
In this article, we will show you how to check your PC’s system information in Windows 10.
Step 1: Open the System Information window
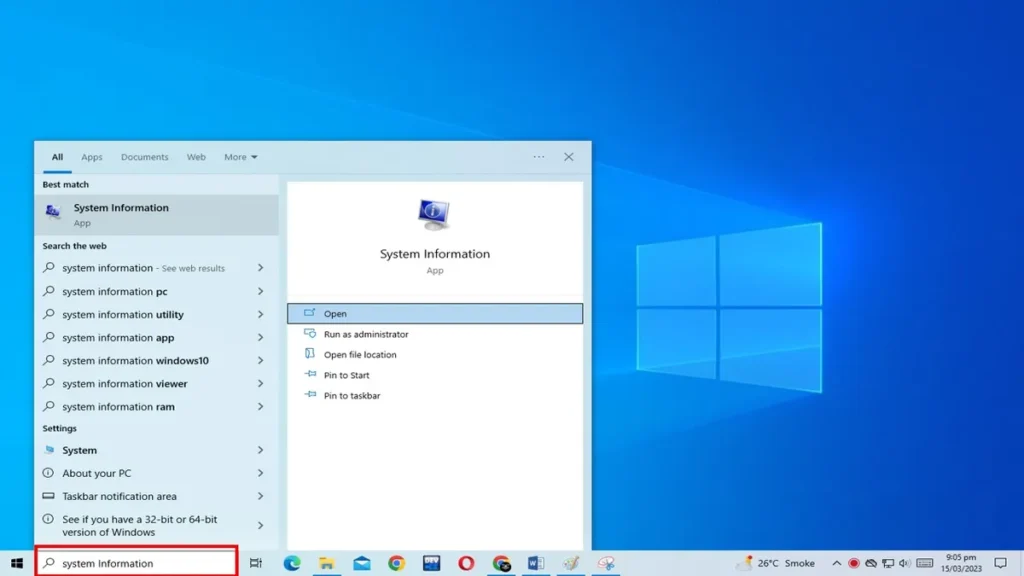
- Click on the Start menu

- Type “System Information” in the search box
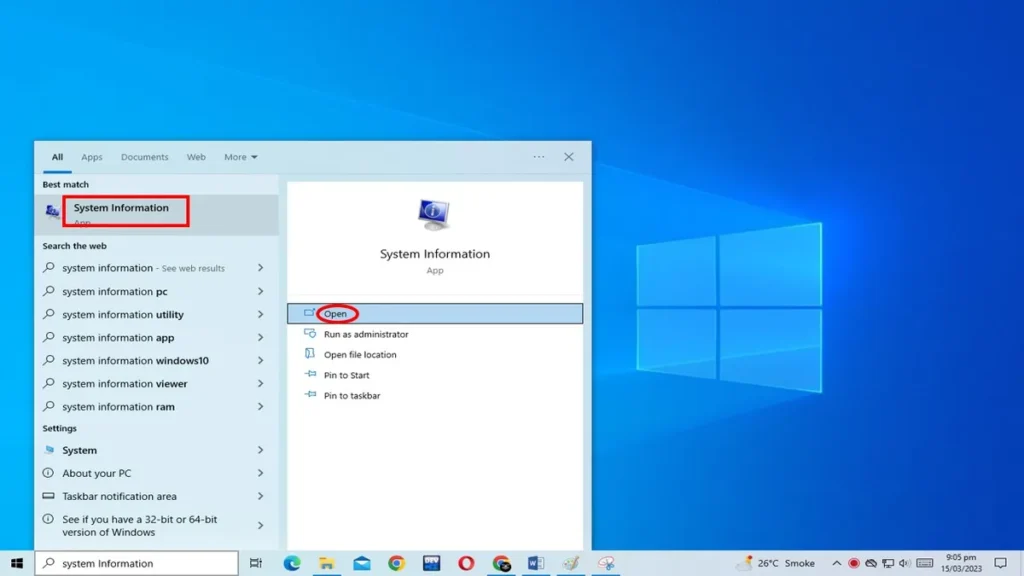
- Click on “System Information” from the search results
Step 2: View the system summary
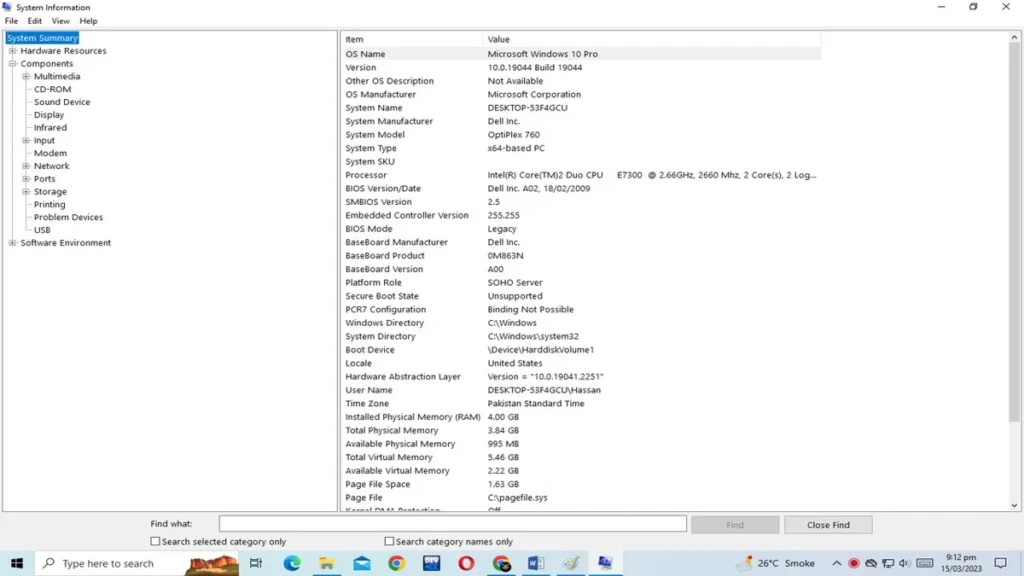
- Once the System Information window opens, you will see an overview of your PC’s system
information, including the name and version of the operating system, the processor, the amount of installed RAM, and the system type (32-bit or 64-bit).
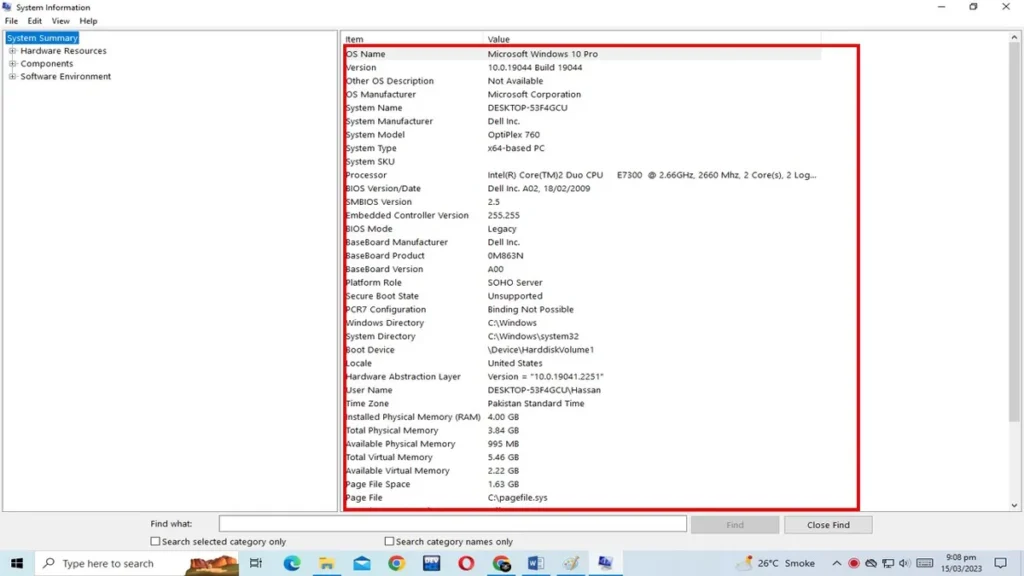
- You can also find other useful information, such as the BIOS version, motherboard model, and
system manufacturer.
Step 3: Check hardware components
- In the left-hand pane, click on “Components” to expand the menu.
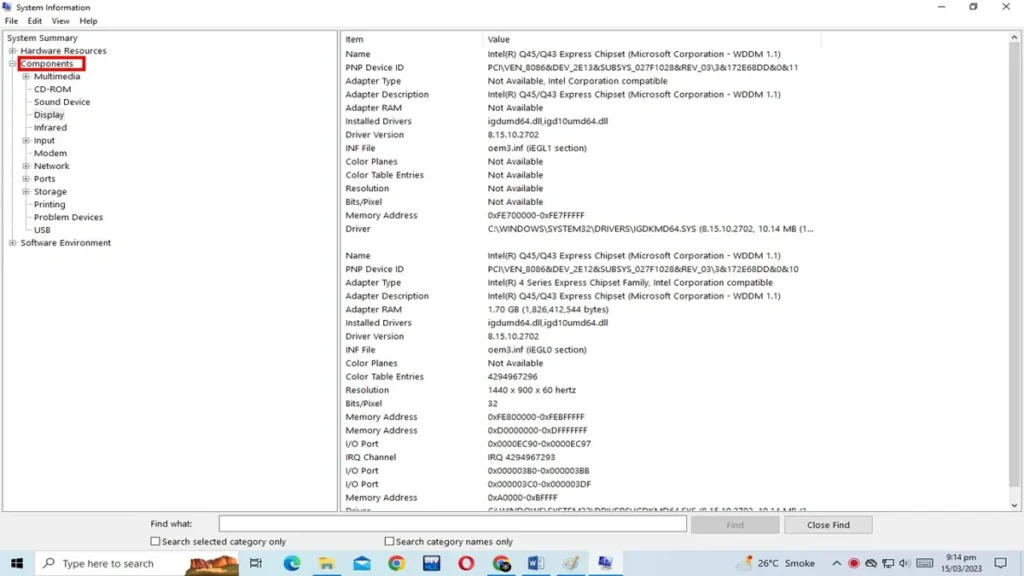
- You will see a list of different hardware components, such as the display, sound, and network
adapters.
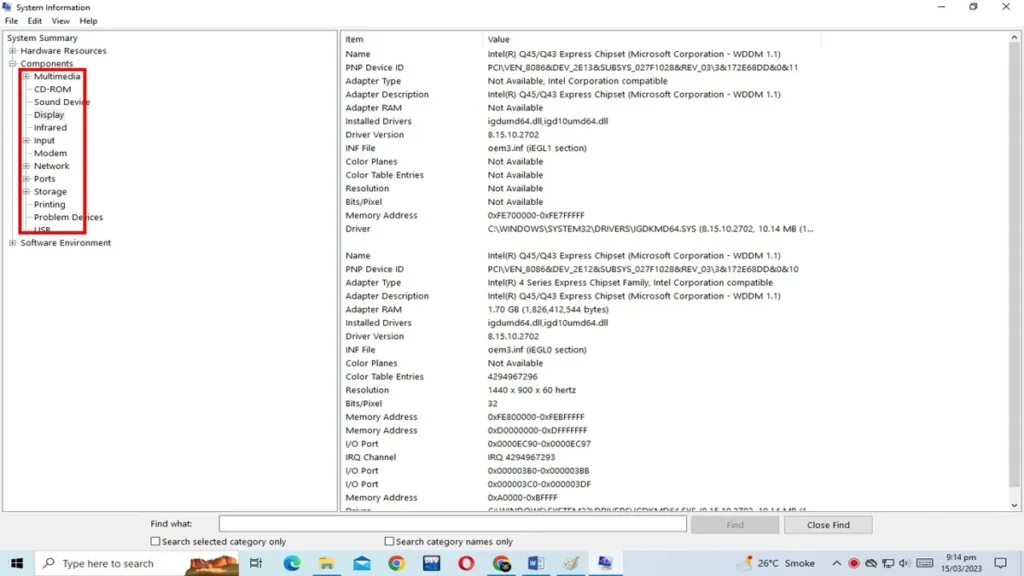
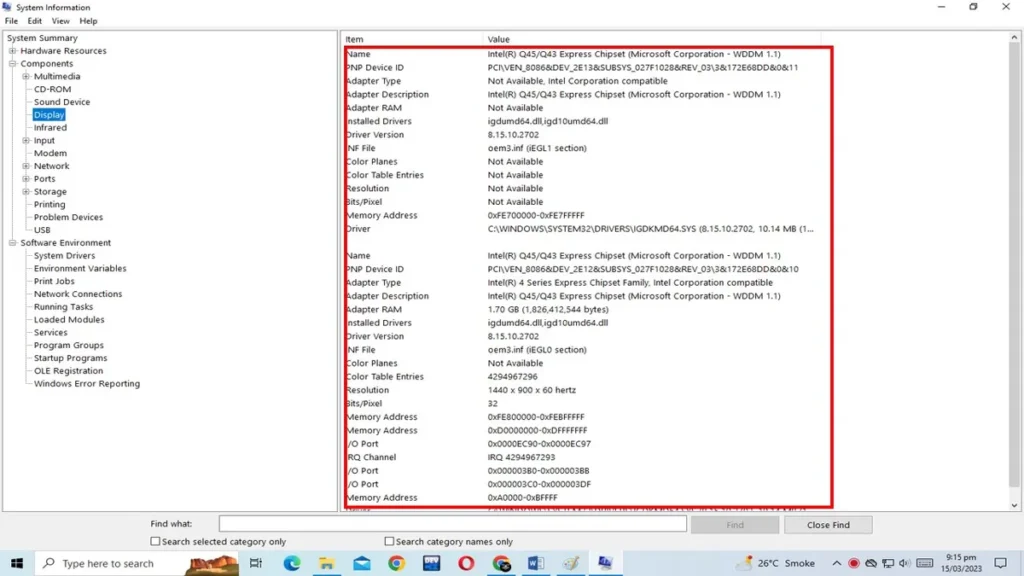
- Click on any of the components to view detailed information about the device, including its name, driver version, and hardware ID.
Step 4: Check software Components
- In the left-hand pane, click on “Software Environment” to expand the menu.

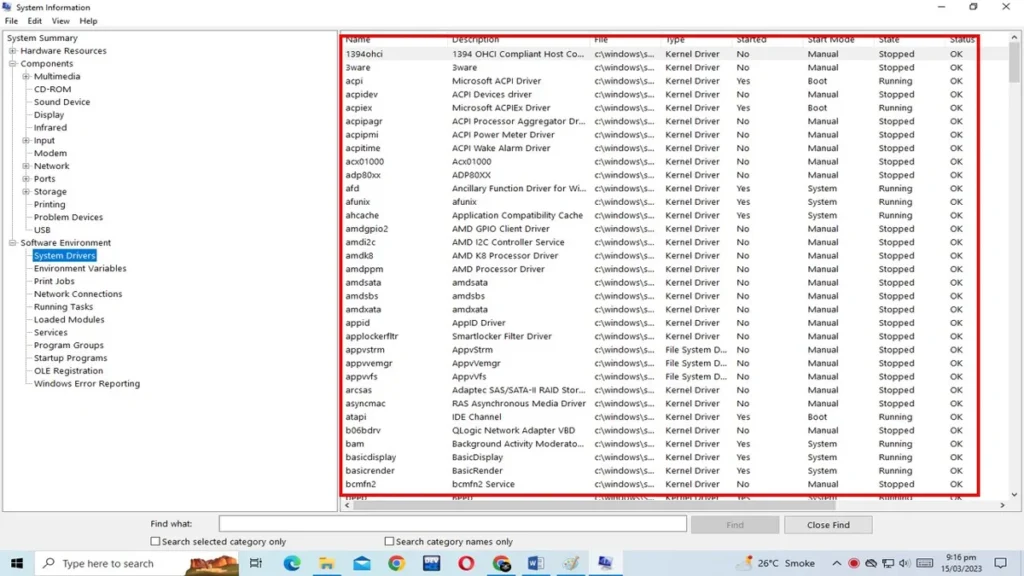
- You will see a list of different software components, such as system drivers, running services, and system configuration settings.
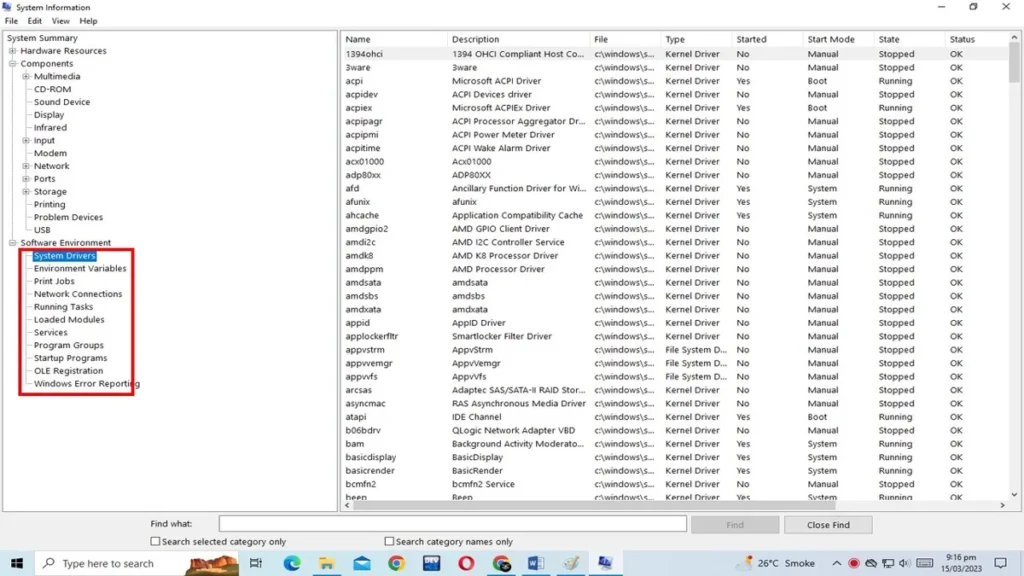
- Click on any of the components to view detailed information about the software, including its name, version, and status.
Conclusion:
Checking your PC’s system information is easy and can be useful for troubleshooting and diagnosing
issues. With the steps outlined above, you can quickly and easily view all of your system’s hardware and software components in Windows 10.
